Wednesday, August 7, 2013

It's getting crazy fun around here!

 Things are coming together so quickly all of a sudden, and I've been doing my happy dance All. Stinkin. Day!

 Let's get right to the pictures....Here's my sweet Tyler putting together the cover for the vent hood.  I won't say that we haven't struggled many times as I've tried to communicate what's in my head, and he tries to turn it into a reality, but in the end it's actually worked and the vent cover is the latest success.


 My favorite guys beginning the installation.  This is the last piece to go in on the back wall of cabinets.


                                                                 TA-DA!!! 
    The back wall of cabinets, with the pantry just peaking out on the left end of the picture, and then the coffee bar, double oven space, counter and cooktop area, and fridge space.


                                                             And next: The island.
 I'm in love!  I can't wait to have a row of bar stools all lined up on the bar side ready for my favorite people to visit!
I just know I'm going to love my little, lighted bookcases at each end of the cabinets. The space with no cabinet is where the dishwasher will go.  The cabinet to the left will have the sink in the middle, and a 6 inch wide pull-out section on either side.  One will hold spices and the other will hold towels, similar to this inspiration:


                                                       traditionalhome.com


 We have been doing everything ourselves up until now, and without much persuasion from me, Dado agreed to hire a painter for the cabinets.  YIPPEE!!  And while we were at it, we I decided to have them paint the fireplace, all the window trim in the living, dining and kitchen, the ceiling and walls, as well as the rest of the doors that I haven't gotten around to painting. (I did 7 of them and I don't feel at all bad about having the painters do the remaining 8!) They started TODAY!  

 Annnnnnd......I'm getting the most beautiful granite.  As you know, I haven't liked anything!  Nothing.  I only had eyes for Carrara Marble.  I've searched high and low for options, and had considered concrete, wood, Quartz, and anything else I could think of.  I just didn't like anything, much less the granite choices that were available to me.  Until my last trek through the granite shop where I stumbled on this little leftover slab in the corner.  It was like a puppy at the animal shelter just begging to be picked!  I was smitten, and after a brief (but intense!) struggle over the price, I gave in and picked the little orphan piece.  I had the granite people measure yesterday, and today I signed the contract, paid the deposit, and got on the schedule for the 21st.  Of August.  Can you believe it's only 3 weeks from now?  

The picture definitely doesn't do it justice, but this is my Pound Puppy. aka White Ice granite.  Isn't she a beauty?  


 I'll admit this adventure has been long, tedious, challenging, stressful, (and did I mention long?).  But I've done my very best to embrace every minute of it!  It has been incredibly fun to dig into my creativity and see what I can come up with.  Planning a "Bunk Room" for the grandbabies has brought the sweetest joy to my heart!  And daydreaming about the day we could move in has kept me sane!  Some days (months!) it has felt that no progress was being made and that we would forever be living in this little apartment with some of our possessions sitting in boxes lining the walls of every single room, and the rest sitting in 3 (yes, 3!) storage units.  Dado has worked faithfully every day, and I've been there as much as I possibly could.  I've been so completely torn and pulled between running a business, managing employees, dealing with residents and their issues, grocery shopping, cooking, cleaning (although very little of this!) and trying to make decisions and purchase everything needed for the remodel.  And my sweet spouse wonders why I can't make a decision the minute he needs me to!  But it is all worth it, and we are now seeing some wonderful results :)   

Thanks for sharing my excitement!

Sunday, February 10, 2013

Eating Our Lunch

I had no idea what I was in for when I asked for Craftsman style trim for the doors and windows!  I found a picture of some beautiful woodwork, and Dad-o began crafting it for me.  He got most of it put in place (15 doorways - both sides, and 8 windows).  I was loving it!


 and then we realized that we hadn't done nearly enough sanding.  So down came all the millions of pieces, and we began sanding.


Then we found that there were many imperfections to patch. Then more sanding. More patching. Then it was on to primer. Sanding. Paint. More sanding.  This project is eating our lunch!
 
We're working on painting the trim for only the rooms that have already been painted (1 bedroom, 2 bathrooms, and the hall).  The rest of the trim will be reinstalled in the other rooms where there is only primer on the walls and we'll use the paint gun to give them a quick coat of primer and a coat or two of paint.

But what about the fireplace trim?  I guess it's coming down as well.  Oh man.


We have done so many things in the wrong order on this house!  If we had known what we were doing we would have sanded and patched all the trim and then installed it before we sprayed primer on all the rooms.  What an adventure this is!  We'll be pros if we are ever crazy enough to take on a project of this magnitude again :)

So Close!

We could see the finished bathroom!  It was almost a done deal!  The walls are painted, the tile is down,


The vanities are in place and ready to have the plumbing connected, and the light fixtures I provided were dutifully hung.  Oops!  They are antique nickel instead of brushed!  Down they come.  Then,


 we discovered that the drain pipes have been installed incorrectly (too high in the wall) and can't be connected to the sinks.  Ahhhh.....we were so close! 
 But, we moved the vanities out of the way,
 
 
 cut a hole in the wall, all the way across the room and had the pipes moved.  I thought I had a picture of the devastation but it isn't at my fingertips at the moment.  Here's the nearly repaired wall.  Now we wait for mud to dry, texture to be added, and then I will paint the wall again and we will replace the vanities.  And the light fixtures, in the correct color :)
 

                That's ok.  Just another little bump in Renovation Road!

Saturday, December 22, 2012

It's the MOST wonderful time of the year!

I've been enjoying every single little bit of eye candy I've been seeing everywhere, haven't you?  So many wonderful crafts to try, and gorgeous decorations for inspiration!  Because we're on an adventure remodeling a recently purchased home, it was with a mix of sadness and relief that I decided to forgo decorations this year.  I know, how can I live with myself?!  It wasn't an easy decision for sure!  Our new house is a demolition zone, and our current 'temporary' apartment is tiny and crammed full of moving boxes so I thought it was the most sane decision. 
 
One day in a bout of nostalgia, I found myself looking through pictures from Christmas Past and decided to share some of my favorites.

This little tree was in our game room.  I just love the card-themed ribbon I found in a little Christmas store in Midland.  I made bows with it, and wish I had bought more! 


My first time to do a brown tree, as I'm mostly a red, green, white, and silver kind of girl.  I really liked the way it turned out, with it's more understated feel.  This first picture shows the tree through an old mirror that used to belong to my grandmother.


This is my first flocked tree.  I'm so happy with it and can't wait to use it again.  It's my master bedroom tree and I used only reds last time.  I can picture all kinds of different things to do with it in the future.


This is one of my favorite Christmas crafts.  I made this using 2 glass blocks from Lowes.  We got a special drill bit for glass and drilled a hole in each glass block.  I then just put a small string of lights in each one and wrapped them up with sparkly ribbon.  They add just the right amount of bling to any corner!


This little tree in my antique trunk is my kitchen tree.  It holds some of the old ornaments from our kids childhood days. It's such a treat to get out the old handmade ornaments that the kids made in church or in school and relive the memories.


My Spode teapot was a gift from my dearest friend, and it was displayed just out of reach of the grandbabies precious little hands.  It will need to be placed a little bit higher next year:)
 

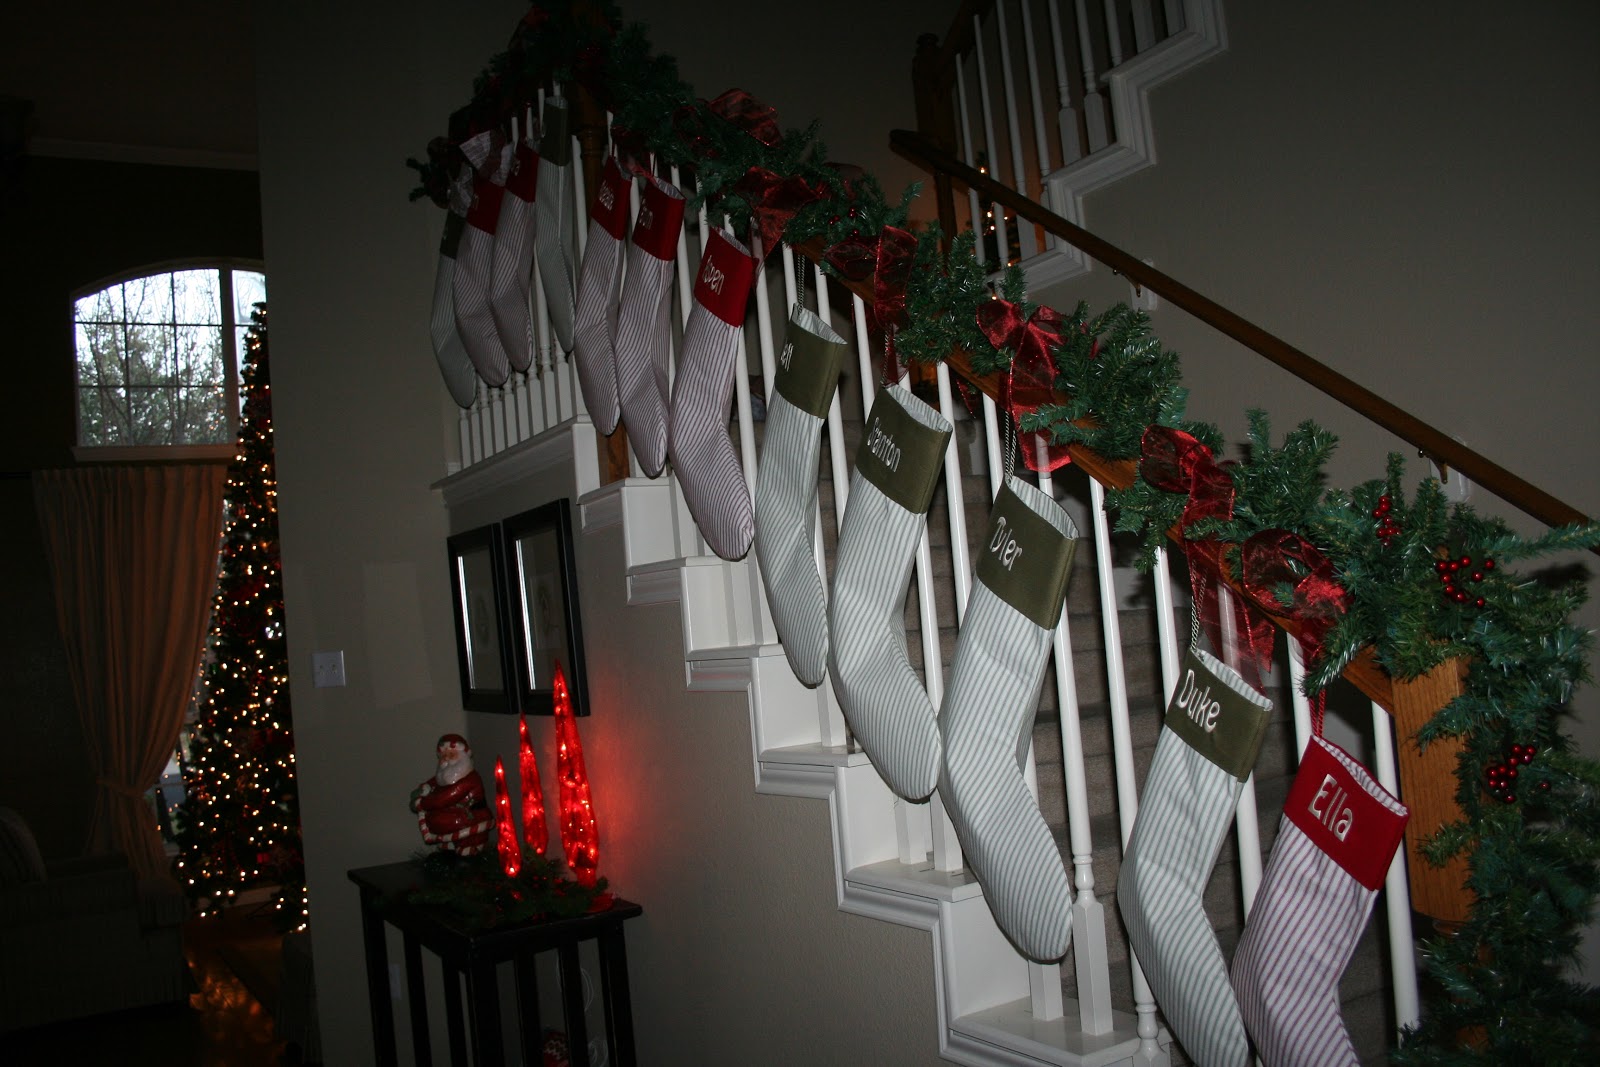
I made stockings for everyone, including the pups!  It's such a delight that almost as soon as they were hung, they were out of date.  We've had 2 new grandbabies in a little over a year!! 


A very simple mantle with just a bit of red and my favorite Santa.
 
Some of my other Santas adding some HoHoHo to the top of the refrigerator.
 
 
In honor of some old friends from Germany who visited just after Christmas, we were excited to find Gluhwine at our local HEB!  They taught us how to make a lovely warm drink.  Living in West Texas, I can only imagine that would be even more amazing if sipped with a couple of feet of snow outside!
 

And now, my 12 ft tree.  I love it!  I got it on sale after Christmas one year while shopping with my bff and fellow partner in crime.  She actually bargained with the owner of the shop to get me an even better discount!  I love the memory of snagging it as much as I love the tree!
 

Merry Christmas from our home to yours!


Wednesday, December 12, 2012

I can see the light!


This remodel has been going on for 3 months now, and most of it has been tedious, dirty, and frustrating.  But I do believe we've turned a corner!  The back half is really coming along and I'm getting so excited!

Here's a reminder of the laundry/mud/craft room, when it was still the master and bath.
And now...just needs some paint and then we'll be ready for tile!  The vanities I ordered from Lowes are here and I can't wait to get them in place. 
 
 
This is the demolition of the old, homemade door to the backyard from the laundry room.  It was probably supposed to look like a french door, but the glass was 2 different sizes, and it was just a messy installation all the way around.


We also removed the little ramp outside the door.


 Here's the space ready for the new door.  (You can see the beginings of the dog shower on the right.)


And by the end of the day the new door is in!  This will be our preferred access to the pool (tile floor, bathroom access), so I think the sliding glass will be perfect.  Plus it will (eventually!) have a good view when I'm doing laundry and stuff.   


The great room has new sheetrock on the ceilings, with much improved support in the attic.  The tape and bed and texturing has been completed, and hopefully tomorrow we will get a coat of primer on everything!  Our son is happy to suit up and man the paint sprayer, which is a huge blessing.  I originally thought I would be happy to do it, but after watching him the first time I decided it would be a lot of work!  I'm happy to just do the prep work:)

This is looking toward the kitchen.  I'm super excited that the pantry shelves are cut and ready to paint.  I can't wait to get paint on the walls and install them.  It might just be our very first completed space in the house!


We added a new project today, because, well, we just didn't have enough to do already!  I knew I wanted new trim around all the doors, and new larger baseboards.  We planned for that.  But then I looked at these underwhelming dining room windows and decided that they need some help too.  I would love to do all the windows in the house, but we'll see how it goes.  Here they are, the shy little timid windows before....


And here they are in their new finery.  I can't wait to see them painted white with a nice warm color on the walls.


I've finally made some decisions on paint!!  I can't (won't!) tell you how many cans of Benjamin Moore samples I have.  Goodness!  It's been a process for sure.  I should have the hall bath painted tomorrow and will be calling the tile guy to see when he can get started!
 
Thanks for stopping by.  I'd be so honored if you would leave a comment letting me know you were here!

Sunday, December 9, 2012

Much Better!

I'm totally out of my element when it comes to blogging, blog design, and most anything technological.  Logical?  Not to me!  In spite of this, I finally decided to tackle my blog layout.  Yay!  Isn't this cuter?  Now I just need to customize my snippet, configure my script tag parameters, and about a hundred other things that make absolutely no sense to me.  I'm pretty sure I was supposed to get this all figured out and in place before I ever made this public, but alas, it is what it is. Please bear with me as I stumble through this, and leave me a comment with any helpful hints you might be willing to share! And thank you for stopping by:)

Fifteen days until Christmas!

Sunday, November 25, 2012

One (seemingly) Simple Project.....So many layers!

I can't believe it's been a month since my last post!  It seems that I've spent the time just trying to make sense of everything that needs to be done, decisions to be made, and purchasing the items that the Mr. needs to either cut a place for or install so he can finish up one of his many projects.  Oh, and there's always office work demanding my attention!  Soooo....I don't have much to show for my time!  That's ok.  (this has become somewhat of a mantra for me.  Everyday there's a new roadblock, hurdle, change of direction, or error to deal with.  I just say "That's ok" and move on!)

I did start working on the doors that need to be painted.  I think I have 13 at this point, and we still have 4 interior (I think) and 3 exterior doors to purchase.  I want to finish the ones I have in my possession since they all belong in "The Back Half" of the house, and that's my area for now:)

Here we go with a little bit of what I've done.  First of all, I learned how to remove a door knob!  There's a secret little slit that you stick your screwdriver in while pulling up on the knob.  Voila!  The knob comes off! 


Then I removed the screws,


and the latch that holds the door closed, and then it all comes apart!


Here's where the layers begin....I originally pictured myself just going from room to room slapping new paint on these doors right where they live. We had already decided to hold off on buying new hardware (budget. time.) so it seemed easy enough to just start painting. However, in the course of pulling up all the laminate flooring and tile our helper took all the doors off! That's ok. I can paint them anywhere. But then as I looked them over I decided that while they're all down I should sand them. So I took them all out to the patio. Of course when I started sanding I discovered how banged and dinged and mistreated they all were and felt that since I've gone this far I might as well go all the way and make them look the best I possibly can.  And I have to say it's kind of exciting to try to reinvent a smooth surface out of such damaged wood!


And while they're all down, shouldn't we just go ahead and remove the hinges now instead of risking damage and lots of clean up if we replace them later.  Sure!  (Another layer!)  So with a screwdriver and a lot of elbow grease, I got busy and removed a ton of hinges and striker plates.  I feel very grateful that I won't have to clean all these!
 
Here's a little footnote....I don't love my doors.  Really.  What I love are old doors.  With character!  Like these.  Aren't they lovely?   I drool.  (Photo from Rachel Grace @ raenovate.com)

I initially thought I would just replace all mine with some like this.  I hoped I could score at our local Habitat Restore but either they don't ever get good doors, or someone is beating me to them!  I've found some really nice old ones online - mostly in New England - for very reasonable prices.  Too bad I live so far from there.  In the meantime, I'm looking forward to making the most of the doors I have.

Next layer please.  Removing the rest of the molding since it will be replaced with a different style. 


And finally I have a pile of doors ready for paint.  Yippee!!  And the stuff laying on it's side?  Beadboard for a project involving a saw(!) that I hope to whip out by myself:)

Thanks for stopping by.  I hope to be able to show you a bunch of finished doors soon!